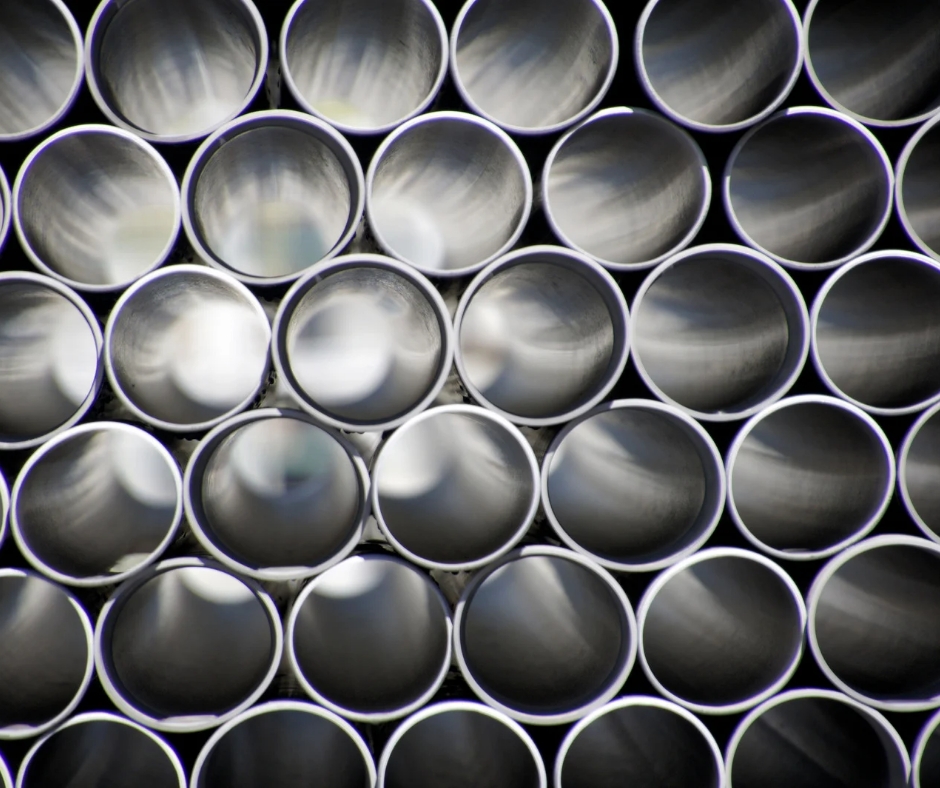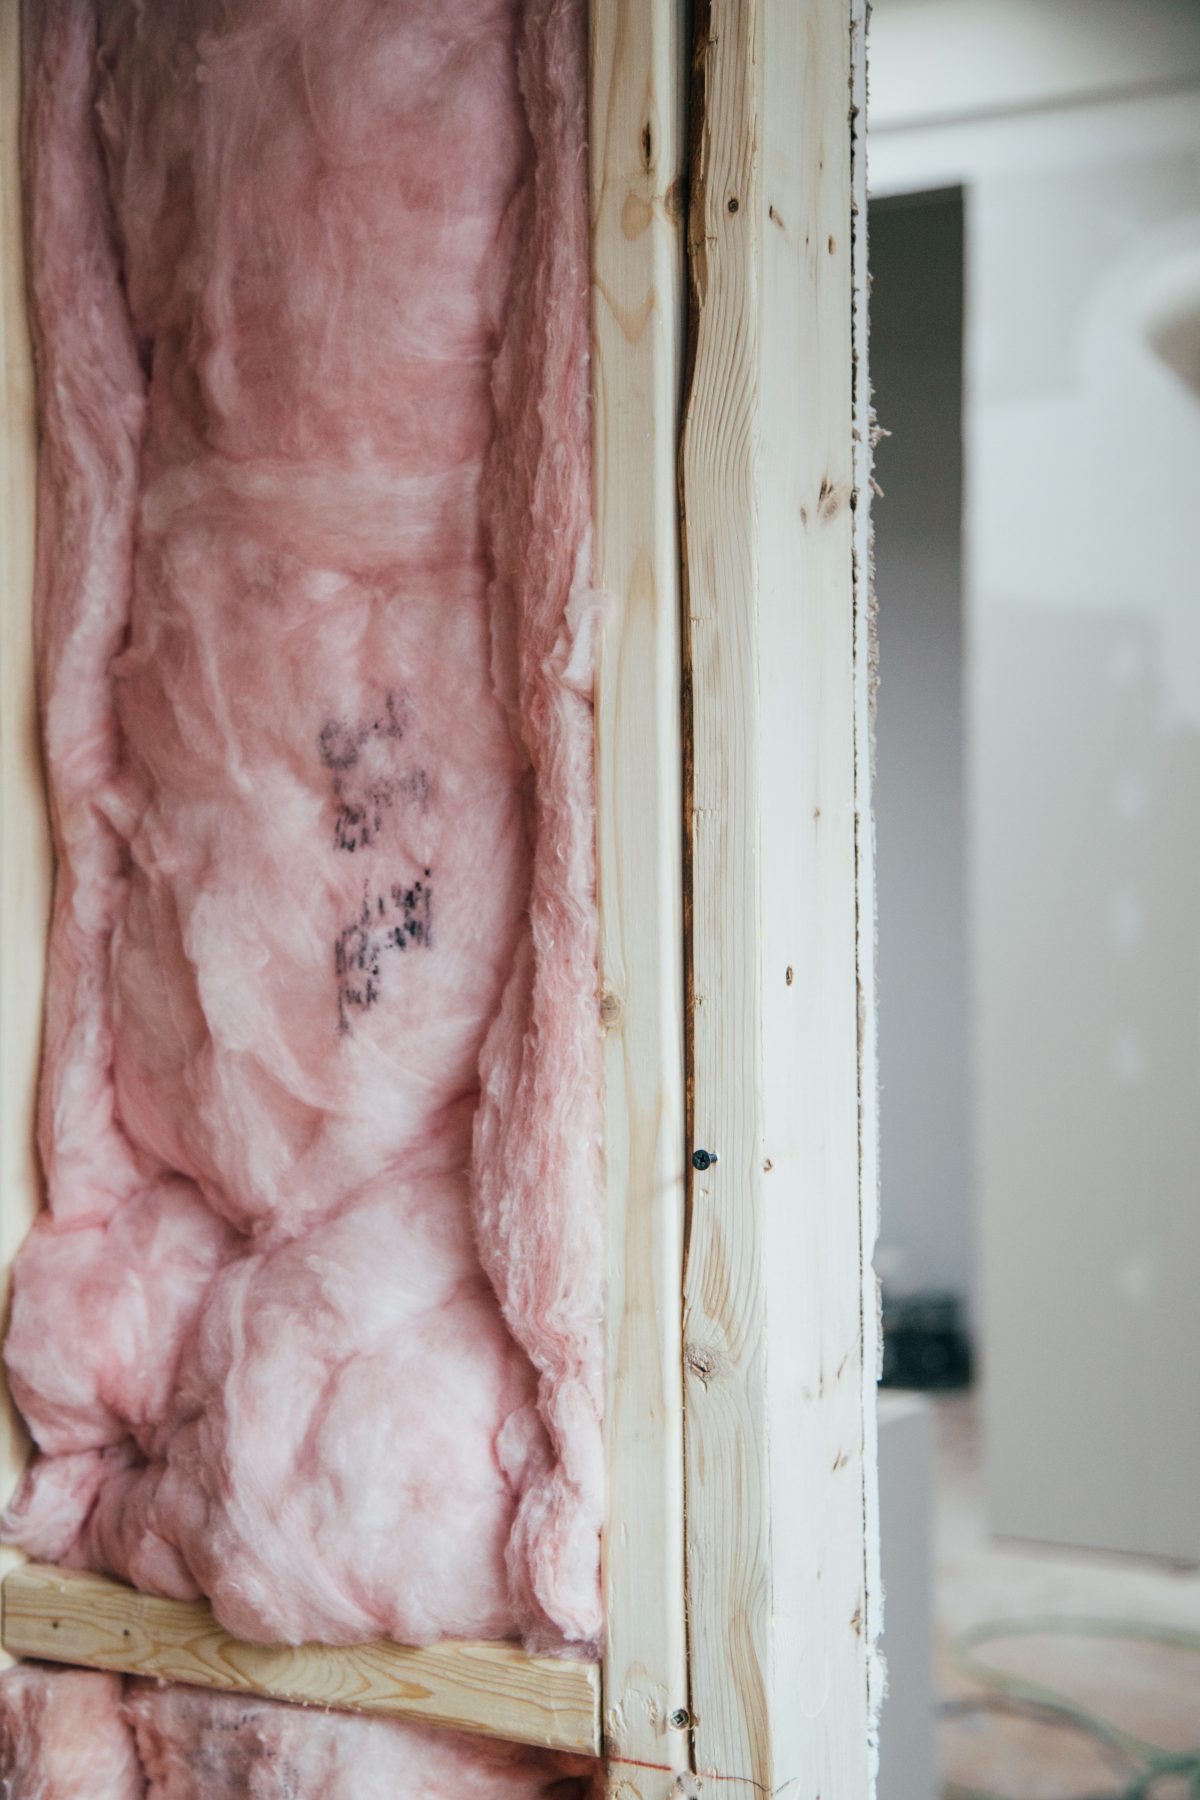
In industries where temperature regulation is critical, reliable, efficient, and long-lasting trace heating systems are essential. Whether preventing pipes from freezing or maintaining optimal temperatures in high-risk environments, trace heating plays a vital role in ensuring smooth operations, even in the harshest conditions.
At TRM, we offer full turn-key solutions in electric trace heating, covering the entire project lifecycle. Our approach begins with design and spans installation to ongoing maintenance. We understand the complexities of large-scale projects and are committed to delivering systems that exceed safety and performance standards.
The TRM Approach: Engineering, Procurement, and Construction (EPC)
Our EPC solutions cover every stage of a trace heating project. Here’s a breakdown of our comprehensive approach:
1. Design
We begin by assessing the specific heating needs of the project. Our expert engineers work closely with clients to design customised solutions, considering temperature requirements and system integration.
2. Procurement
3. Installation and Supervision
With design and materials in place, our skilled installation teams take over. They ensure that the trace heating system is installed correctly and meets the highest safety standards. Our teams are experienced in handling complex industrial systems and ensuring seamless integration.
4. Ongoing Maintenance
Our work doesn’t end after installation. We provide ongoing maintenance and support, troubleshooting, repairing, and upgrading systems as needed. This ensures that the trace heating system remains efficient and reliable throughout its lifespan.
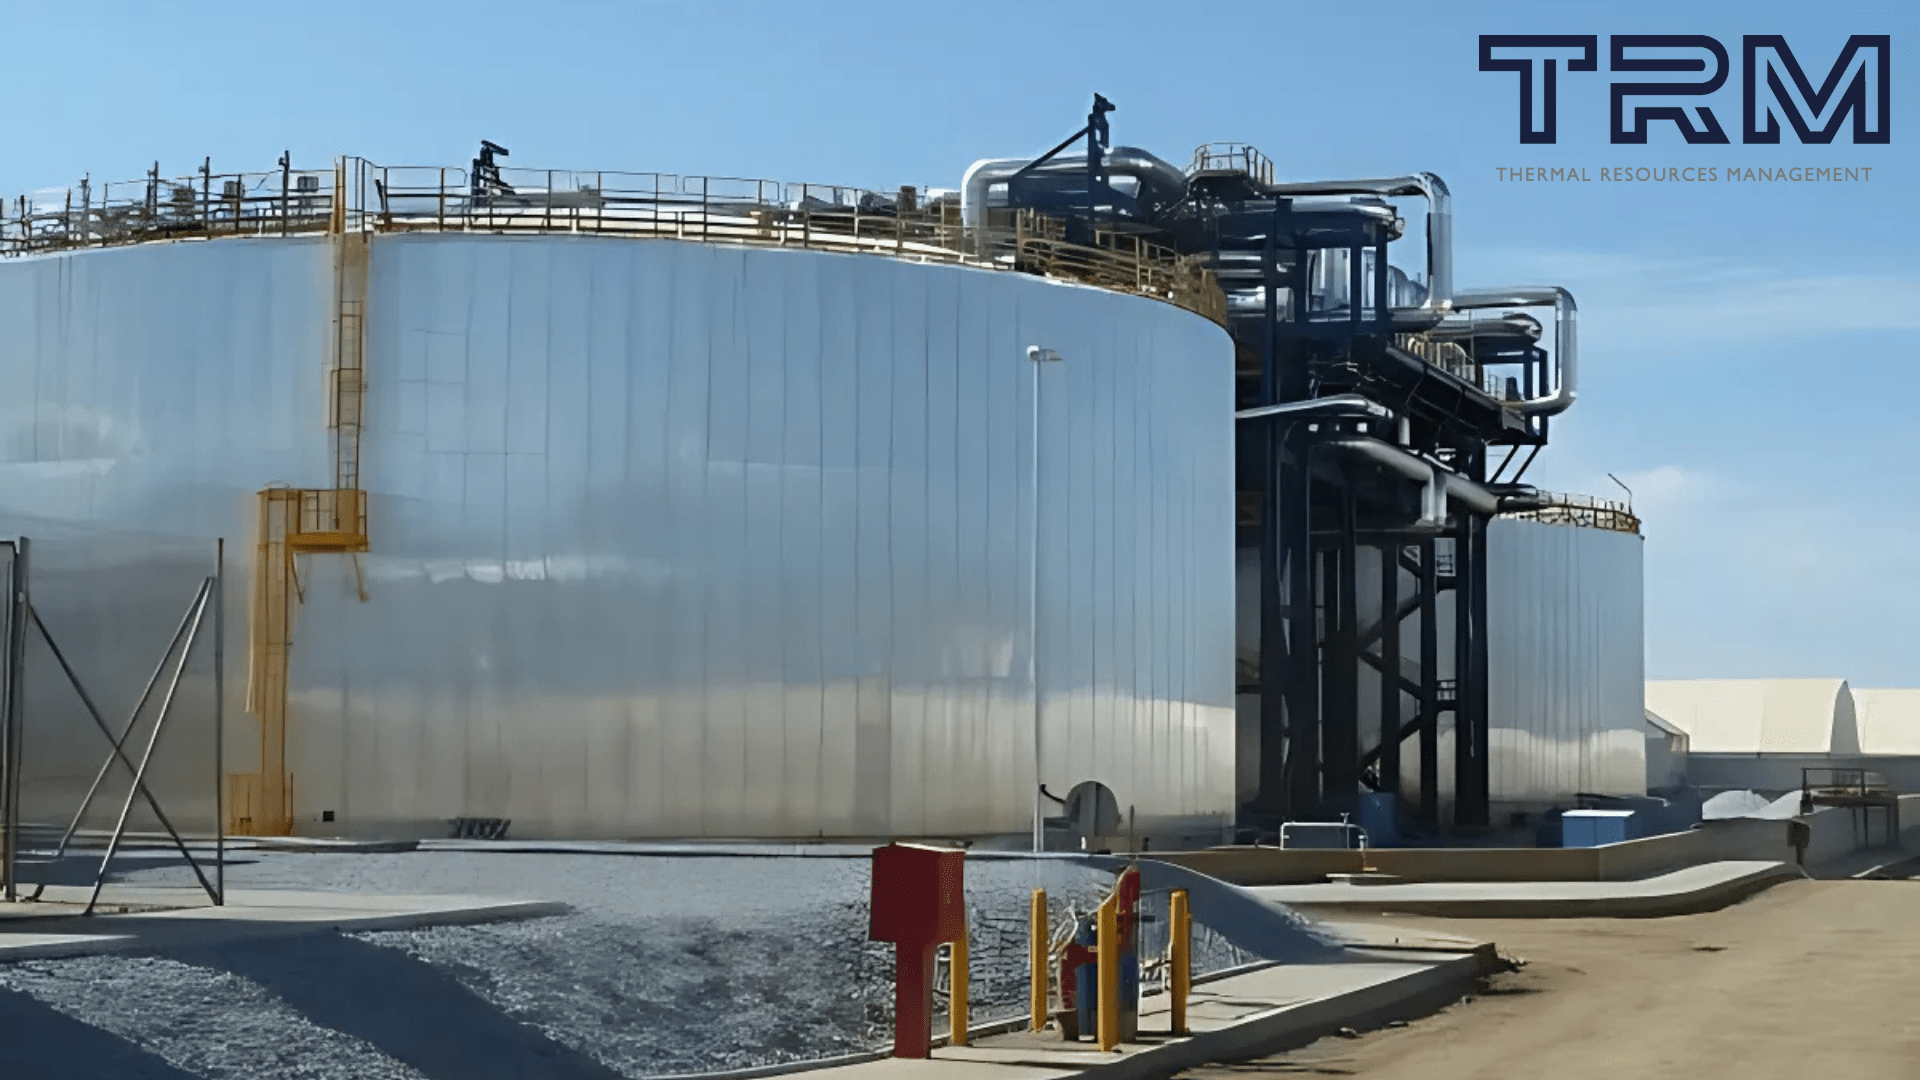
Real-World Application: Power China’s 50MW CSP Project
One of the best examples of TRM’s EPC capabilities is our involvement in the Power China 50MW Molten Salt Tower Concentrated Solar Power (CSP) Project. This large-scale initiative required a robust and reliable trace heating solution to maintain consistent temperatures across critical infrastructure.
We handled everything—from design to manufacturing mineral-insulated heating units, installation, and control of the trace heating system. This solution was essential for the smooth operation of the molten salt tower. Our ability to provide an end-to-end solution ensured long-term success, combining trace heating expertise with global capabilities.
The scale of the project highlighted the importance of our comprehensive EPC approach. By managing every aspect, we delivered a tailored, cost-effective solution that will endure throughout the project’s lifespan while ensuring safe and efficient operation.
The Role of Trace Heating in Large-Scale Projects
In projects like the Power China CSP initiative, trace heating is an integral part of the overall system’s success. Maintaining precise temperature control in large-scale, high-risk environments is critical to safety and performance. Trace heating ensures that systems operate smoothly, whether preventing pipes from freezing, protecting sensitive equipment, or maintaining process temperatures under extreme conditions.
As industries demand more energy-efficient and reliable systems, the need for skilled teams to design, procure, install, and maintain these systems grows. At TRM, we pride ourselves on offering comprehensive solutions that ensure performance, efficiency, and safety every step of the way.
Looking Ahead: The Future of EPC Solutions in Trace Heating
As industries continue to innovate, the role of trace heating will become even more critical. At TRM, we are constantly refining our approach, incorporating new technologies and industry best practices to stay at the forefront of the trace heating sector.
For projects of all sizes and complexities, our full turn-key EPC solutions offer unmatched expertise, reliability, and support.We design, install, and maintain every trace heating system to the highest standards.